Simply follow our three step process for installing and cutting Tile Trim to size.
STEP 1 – MEASURE & CUT
Measure the base and corners with a tape measure to work out how much tile trim you will need.

TYPES OF CUTS
Mark on your trim exactly where you will be cutting.
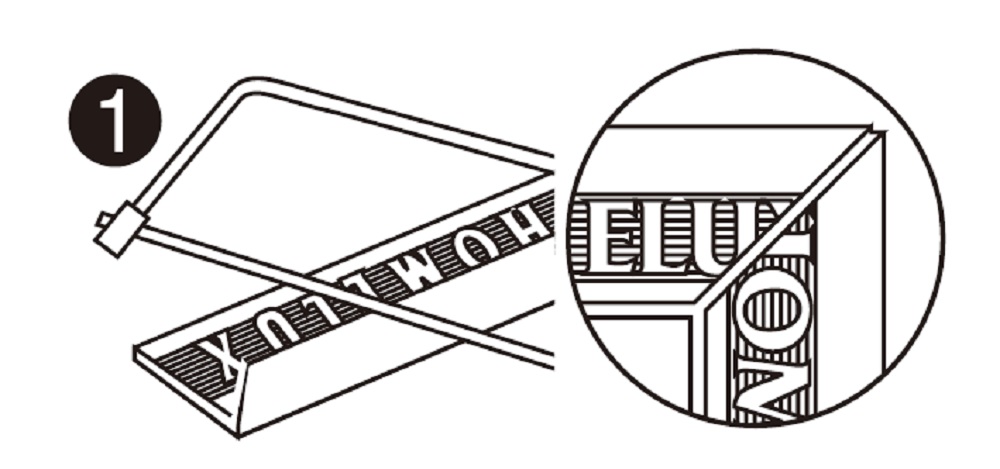
Use a hacksaw with a fresh new blade to cut trim to size. Simply cut at a 90° angle to the exact length required. Alternative options include an Angle Grinder with a metal cutting blade or for PVC trim, use a Trim Cutting Tool.
For corners, a 45° degree angle is recommended so that the separate pieces fit together to leave a clean finish.
For DIYers, we recommend a Mitre Box for cutting trim easily to size as this has pre-determined angles for easy cutting. Always hold the trim firmly against the edge of the mitre box throughout to ensure a clean cut.
File the metal trim after cutting to remove any burrs or excess metal shards.

STEP 2 – FITTING THE TRIM
Mix your adhesive according to the manufacturer’s instructions and then apply as normal using a notched trowel.
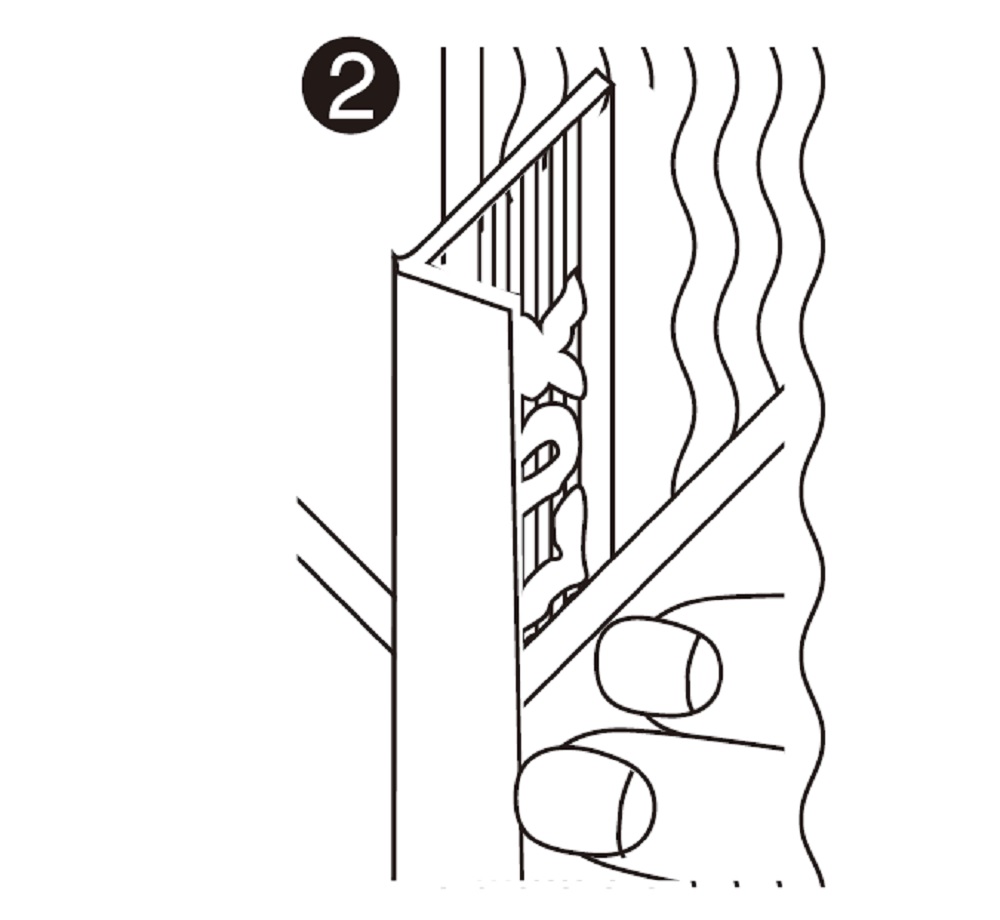
Press the tile trim into the tile adhesive ensuring the adhesive passes through the anchor holes and is secured firmly in place.
Position the tile so it is flush to the rear of the trim and repeat the process with the remaining tiles. Add adhesive to the back of the tile as well before applying to the trim to ensure an even strong bond between tile and trim.
In shower areas, we recommend leaving a 2mm gap between the trim and the tile edge. This space should then be grouted to minimise the risk of water penetrating between tile and trim.

STEP 3 – CLEAN
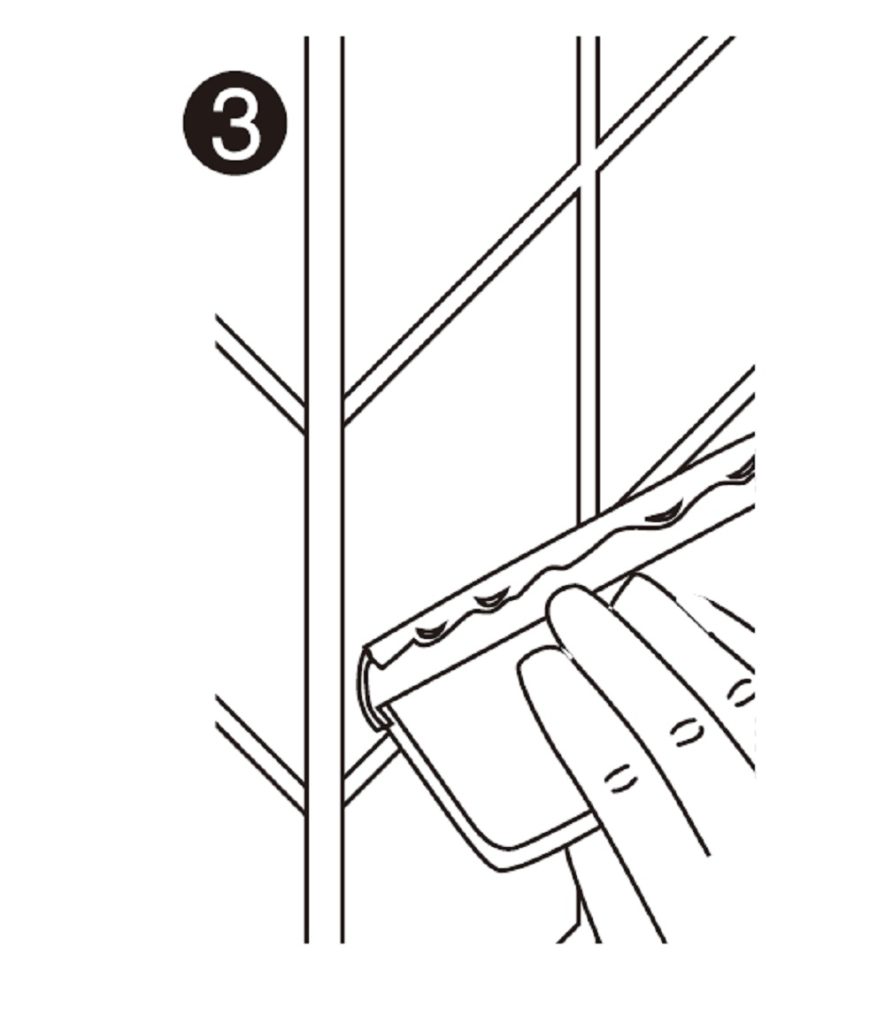
Grout the tiles after application using a Grout Float.
When cleaning the tiles, once the grout is dry, only use warm soapy water, not bleach or abrasive cleaning products.
Always test a small inconspicuous area before cleaning.
